Apple Pro Display XDR on Windows

Why? Because I can.
I’ve been looking into the HDR monitor market for a while, and just decided to upgrade my current monitor setups. While there are on-par or superior* options in the budget-friendly professional display segment, such as Lenovo ThinkVision Creator Extreme or ASUS ProArt, they are mostly out of stock at the time of writing. In the end, I decided to buy Apple Pro Display XDR because I can get it within reasonable lead time.
*: Newer mini-LED displays have more local dimming zone compared to Pro Display XDR, however they usually come with 8-bit with FRC panel instead of native 10-bit panel. So, I cannot say which is superior, they all suck in their own way.
However, I spend a significant portion of my spare time on Windows platform (Lenovo ThinkStation P620) and getting Pro Display XDR working on Windows isn’t a very trivial job in general, as I talked with Wenting two years ago regarding the matter since he has one at home. This post is a write-down on my setup for reference. This write-down is partially inspired by this blog post from ntk.me.
Connectivity & Cable
Pro Display XDR uses USB-C connection (DisplayPort 1.4 with DSC) or ThunderBolt. Lenovo has a ThunderBolt 3 AIC for ThinkStation P620, however, it only supports DisplayPort 1.2 input which is not enough for full 6K resolution. Newer ThunderBolt 4 AIC from Gigabyte uses a new ThunderBolt header which is not supported by my system board, so I gave it a pass too.
UPDATE March 14: Testing with ThunderBolt connectivity is also provided.
ThunderBolt 3/4
While it works flawlessly with Mac, other ThunderBolt-supported platforms are either a hit or miss. On Surface Pro 8/Surface Laptop Studio, it works at 5K60p/10bit RGB/HDR resolution at maximum. It seems the Surface ThunderBolt controller do not support two simultaneous DisplayPort stream (without preamble/checksum) inside a single ThunderBolt tunnel.
In addition, USB Power Delivery doesn’t work with Surface Pro 8/Surface Laptop Studio: it will try to negotiate and disconnect, repeat several times, and finally gave up. Try flip the cable or change a port will improve the situation, at least give you the picture output.
USB-C & DisplayPort Only Route
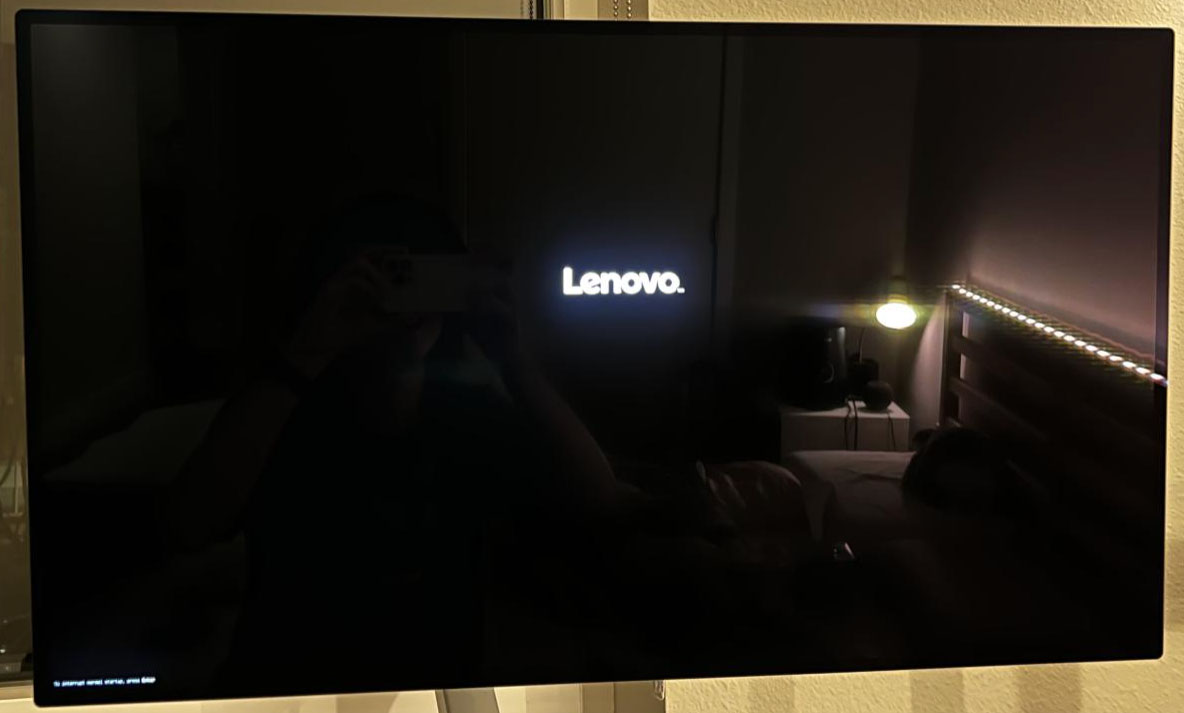
So, I go the USB-C only route. NVIDIA used to have USB-C port on their 20-series GPU for VR connection. That USB-C port is verified to work with this monitor. With 30-series GPU, some cable matter required. A bidirectional USB-C to DisplayPort cable certainly works, but all auxiliary controls (brightness, orientation sensor and light sensor) are lost. Fortunately, DisplayPort + USB-A combined cable to USB-C exists (JD have global shipping btw), and they work perfectly with this monitor, even for the firmware POST screen.

It’s worth noting that this cable takes two USB-A ports. As a workaround, I plugged my low-speed input peripherals (keyboard, USB microphone, USB RGB + Windows Hello Camera) directly to the display. Thanks to the 4.5m cable length, I can freely set my adjustable desk without mounting the workstation to the table.
Software and Driver Installation
While it’s technically possible to use this monitor without any additional driver, install Boot Camp drivers can improve the use experience and resolve various random bugs (e.g., black screen if Windows Terminal with Acrylic or Mica enabled and launched.) Only a minimum set of Boot Camp driver is required:
- Use timsutton/brigadier: Fetch and install Boot Camp ESDs with ease. (github.com) to download a set of drivers with the system model name of
MacPro7,1. - Remove everything like
$WinPEDrivers,Asix,AMD,Broadcom,Intel,Promise/Pegasus. Make sure onlyAppleremains in the driver folder. Enter this directory, remove everything except for the Pro Display XDR companion driver and Apple null driver. - In an elevated Command Prompt (if you encountered the black screen bug, launch an elevated
conhost), usemsiexec /i BootCamp.msito directly installBootCamp.msi. - Reboot the computer.
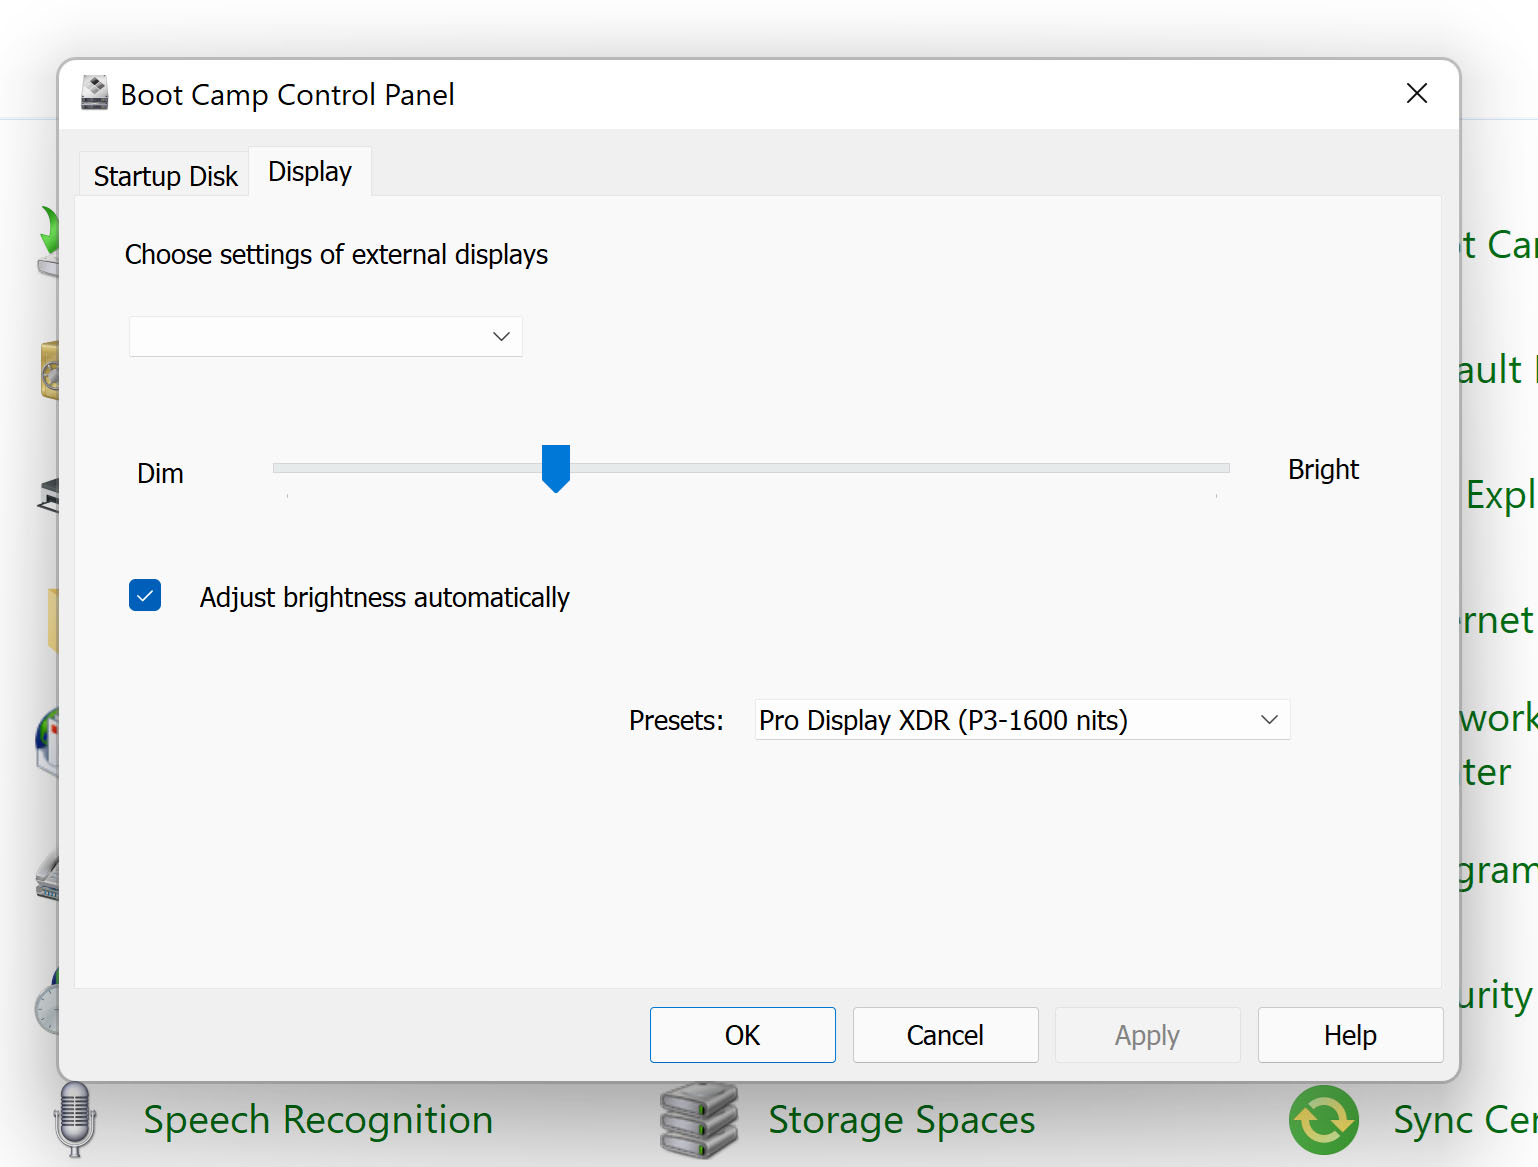
- Brightness and Present control should be available in Control Panel > Boot Camp.

Windows HDR and Advanced Color
Under Pro Display XDR preset, Windows HDR is very satisfying. In Windows 11, turning on Windows HDR automatically engages Advanced Color with system-level color management for all applications.
In this mode, applications that do not declare Advanced Color capabilities will be forced in sRGB color space. Certain applications such as Adobe Photoshop is not advanced color aware yet, therefore a compatibility setting need to be set to let them leverage the full P3 color gamut. In Application Compatibility settings, check Use legacy display ICC color management and that’s all. You might want to install a Pro Display XDR specific Color Profile as well.

Not all Display Presets support Windows HDR. The Pro Display XDR present supports it, but it partially disabled the brightness adjustment in Boot Camp menu. Changing SDR content brightness in Windows HDR settings can be used as an alternate brightness setting for non-HDR content.
Dolby Vision
It’s actually possible to get Dolby Vision working with Pro Display XDR on Windows. At minimum, the Dolby Vision specific EDID information needs to be injected, then Dolby Vision software support needs to be added. Due to factory calibration, the DV profile should be generated for the specific monitor instead of a generic one. With EDID injected, Windows can properly display Dolby Vision Certification as well.
